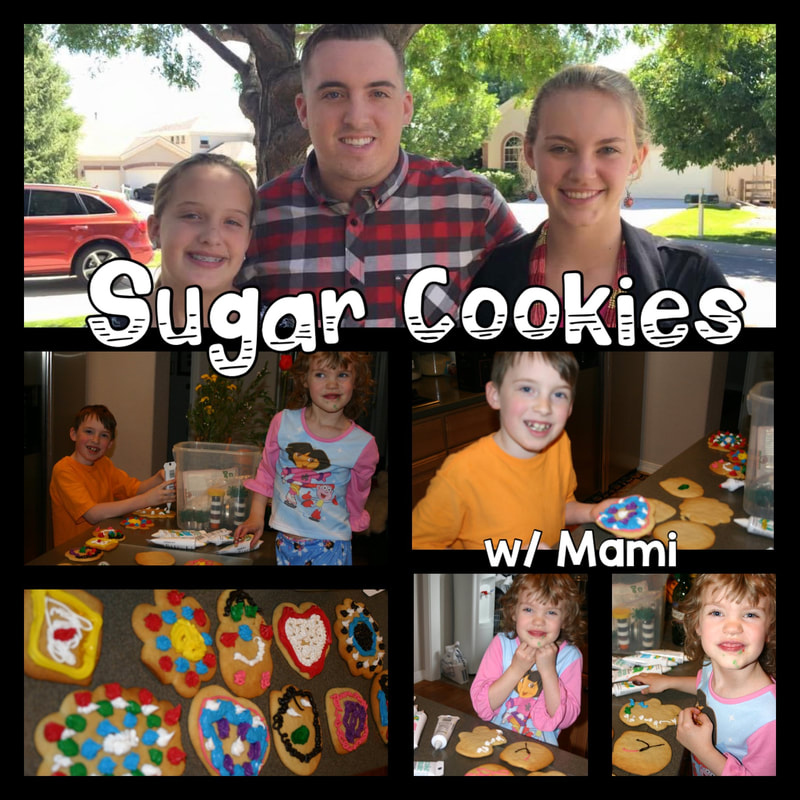
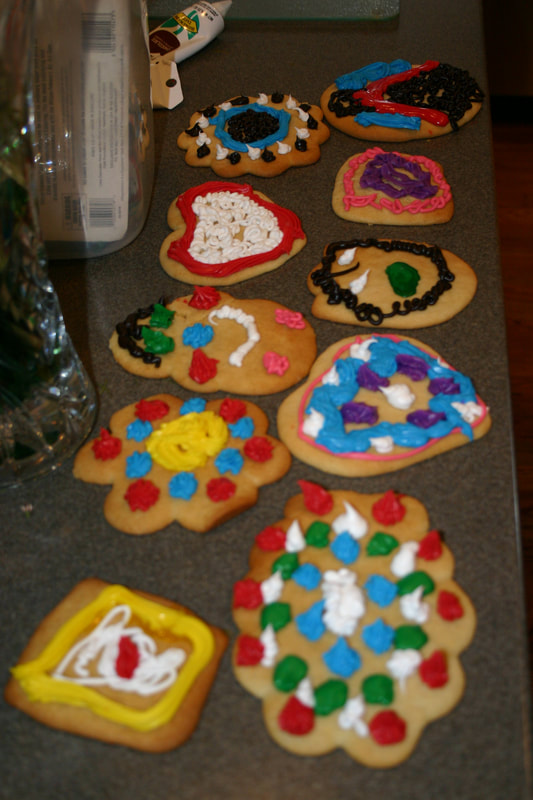
MAMA BEAR COOKBOOK SERIES
  • HOME
  • ABOUT US
    • Mama Bear Blog
    • Publishing Our First Few Books
    • From Publisher to Shelf
    • w/ My Grandsons
    • Kids Together
    • Family Memories
    • Remembering Grandparents
  • COOKING W/ BABY BEARS
  • CAST IRON CHEFS
    • Cast Iron Chef Bloopers
    • Cast Iron Chef Jaymin >
      • Memories w/ Jaymin
      • Nani & Jaymin
      • Cooking w/ Rudy
    • Cast Iron Chef Romen >
      • Memories w/ Romen
      • Nani & Romen
    • Cast Iron Chef Trent >
      • Memories w/ Trent (Tiggah)
      • Trent w/ Mom
    • Cast Iron Chef Christina >
      • Memories w/ Christina
      • Christina w/ Mom
    • Cast Iron Chef Lauren >
      • Memories w/ Lauren
      • Lauren w/ Mom
    • Cast Iron Chef Marcy >
      • Memories w/ Marcy
      • Marcy w/ Nani
    • Cast Iron Chefs Colorado Bears >
      • Memories w/ Olivia
      • Nani & Olivia
    • Cast Iron Chefs Belize Bears >
      • Memories w/ Rivera Family
      • Chocolate Cheesecake
  • COOKBOOK SERIES
    • Trent's Belizean BBQ >
      • Sneak Peek
    • Belizean Jungle Sunrise (Christina) >
      • Sneak Peek
    • Belizean Cupcake Queen (Lauren) >
      • Sneak Peek
    • Belizean Roadside Bakery
    • Grandma's Candy Jar
    • Grandpa's Rainforest Chicken
    • Marcy's Book of Beverages

Sugar Cookies

Picture
SUGAR COOKIES
Sugar Cookie Dough

1
c. butter, softened
1 c. white sugar
1-½ tsp. vanilla extract
1 large egg
2-½ c. all-purpose flour 
¾ tsp. baking powder
¾ tsp. table salt
Sugar Cookie Frosting
3 c. powdered sugar, sifted
3-4 Tbsp. whole milk
2 Tbsp. light corn syrup
½ tsp. vanilla extract
Gel food coloring
Candies & sprinkles for decorating
Picture
Instructions
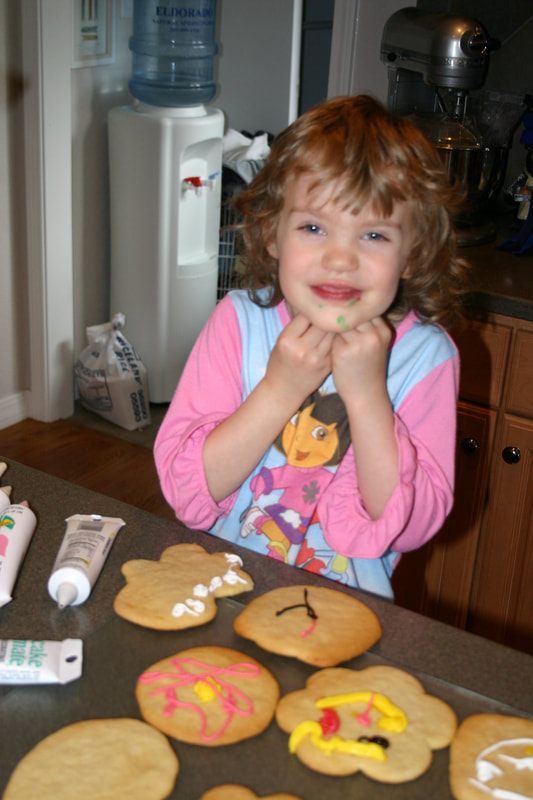
For Making Sugar Cookies
  • Combine butter and sugar in the bowl of a stand mixer (or in a large bowl and use an electric hand mixer) and beat until creamy and well-combined.
  • Add egg and vanilla extract and beat until completely combined.
  • In a separate, medium-sized bowl, whisk together flour, baking powder, and salt.
  • Gradually stir dry ingredients into wet until dough is smooth and completely combined.
  • Lay out a large piece of plastic wrap and transfer approximately half of the dough onto the wrap (dough will be quite sticky at this point, that’s OK!).
  • Cover dough with clear wrap or wax paper and mold into a flat disk. Wrap tightly. 
  • Repeat with remaining cookie dough in another piece of clear wrap. 
  • Transfer dough to refrigerator and chill for at least 2-3 hours and up to 5 days.
  • Once dough has finished chilling, preheat oven to 350F (175C) and line a baking sheet with parchment paper (alternatively bake cookies directly on an ungreased baking sheet). Set aside.
  • Generously dust a clean surface with flour and place one chilled cookie dough disk onto the surface. 
  • Lightly flour the dough and roll out to ⅛" (for thinner, crispier cookies) or ¼" (for thicker, softer cookies). 
  • Add additional flour as needed both on top of and beneath the dough so that it doesn't stick.
  • Note: if dough is cracking as you roll it, let it sit at room temperature for 10-15 minutes to soften before attempting again.
  • Use cookie cutters to cut out shapes and use a spatula to transfer shapes to prepared baking sheet, spacing at least 1" apart.
  • If you are not intending to decorate your cookies with icing, you can decorate them with sanding sugar at this point before you bake them. 
  • Bake on 350F (175C) for 8-10 minutes (this is for cookies that are approximately 3"; note that smaller cookies will need less time and larger cookies will need more), or until edges just begin to turn lightly golden brown.
  • Allow cookies to cool completely on cookie sheet before decorating.
For Making Sugar Cookie Icing
  • Combine powdered sugar, 2 Tablespoons of milk, corn syrup, and vanilla extract in a medium-sized bowl and stir until combined.
  • If frosting is too thick, add more milk, about a teaspoon at a time, until the frosting is thick but pipeable.
  • If you accidentally add too much milk, add powdered sugar until desired texture is reached.  
  • If coloring the frosting, divide into bowls and color as desired at this point.
  • Transfer frosting to a piping bag with a piping tip (I used Wilton 5), or place in a Ziploc bag and snip a small piece of the corner off (not as neat, but this will still work, just take care that the frosting isn’t so thick that it breaks open the seam of the bag when you are squeezing).  
  • Pipe frosting on cookies and decorate with decorative candies, if desired.
  • Allow frosting to harden before enjoying, stacking, or storing (this took several hours for me and may vary for you depending on the consistency of your frosting).

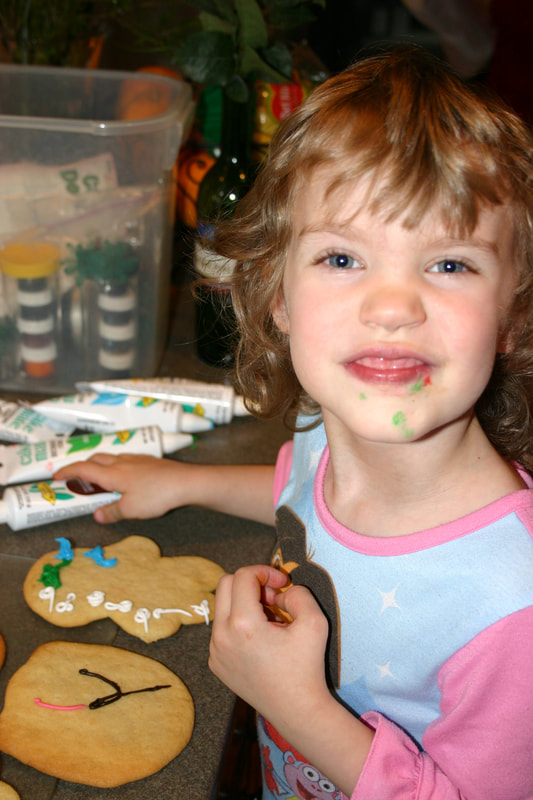
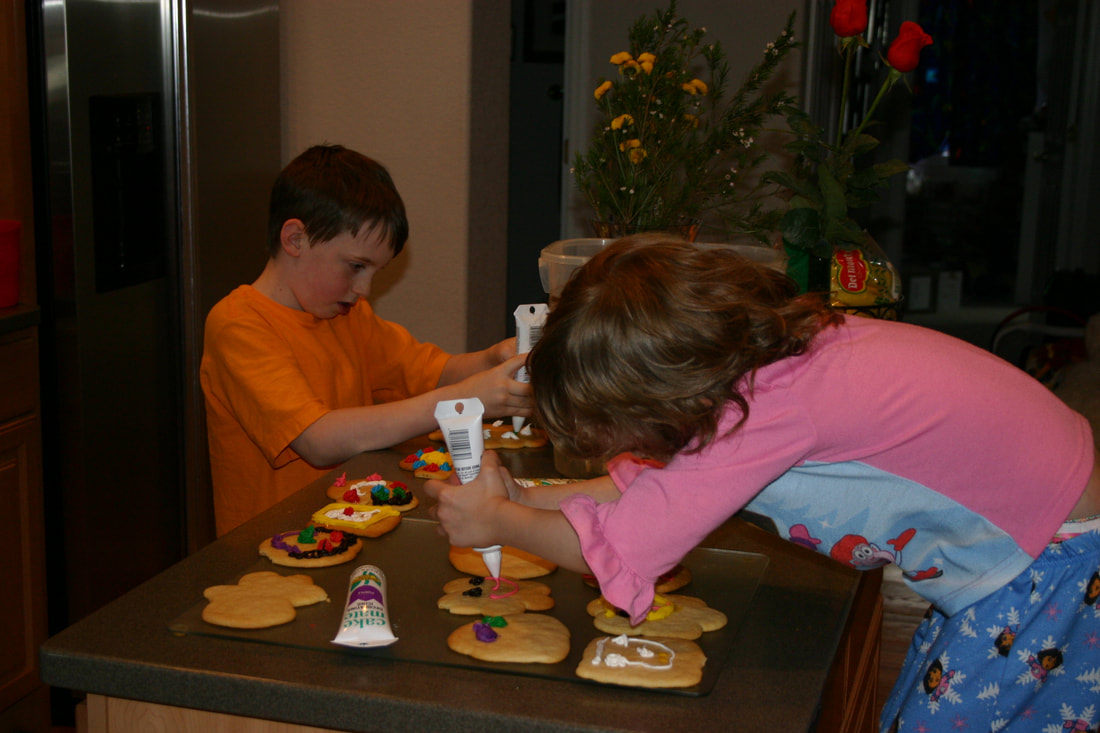
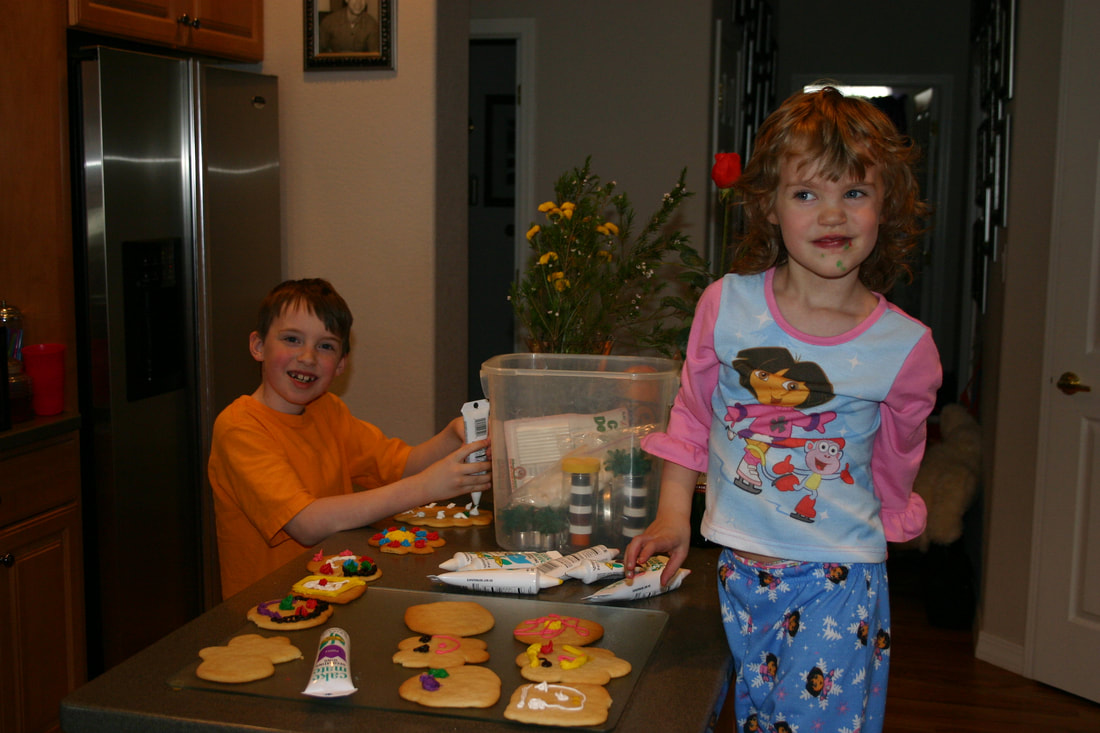
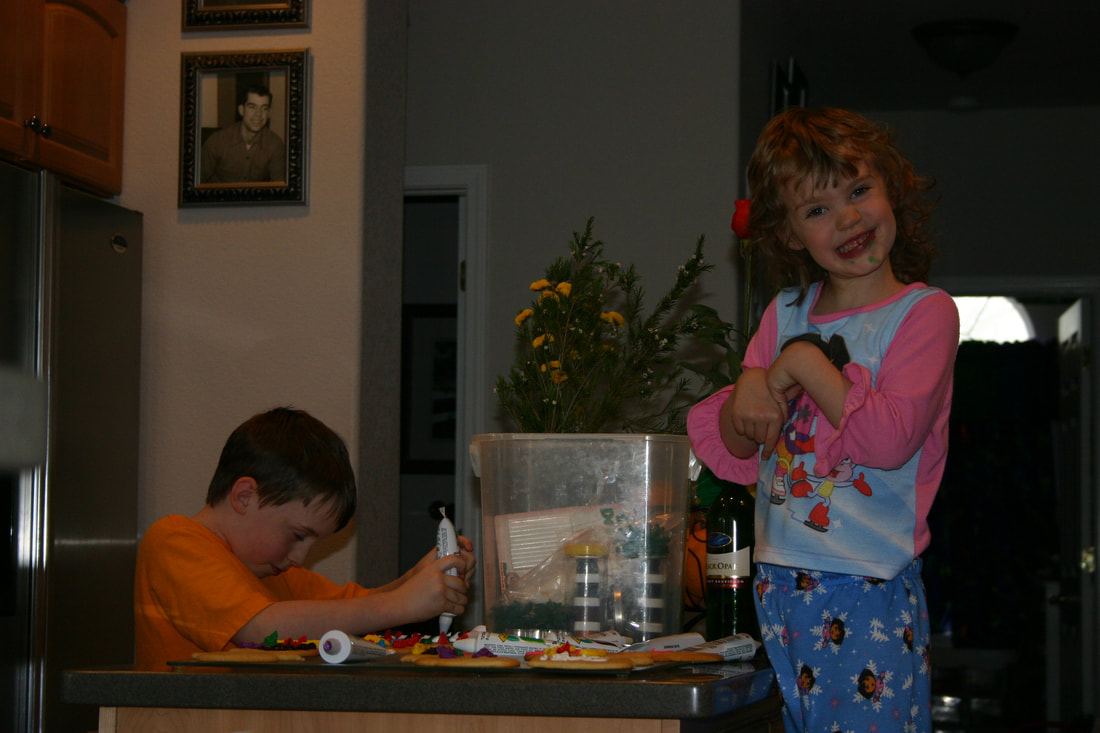
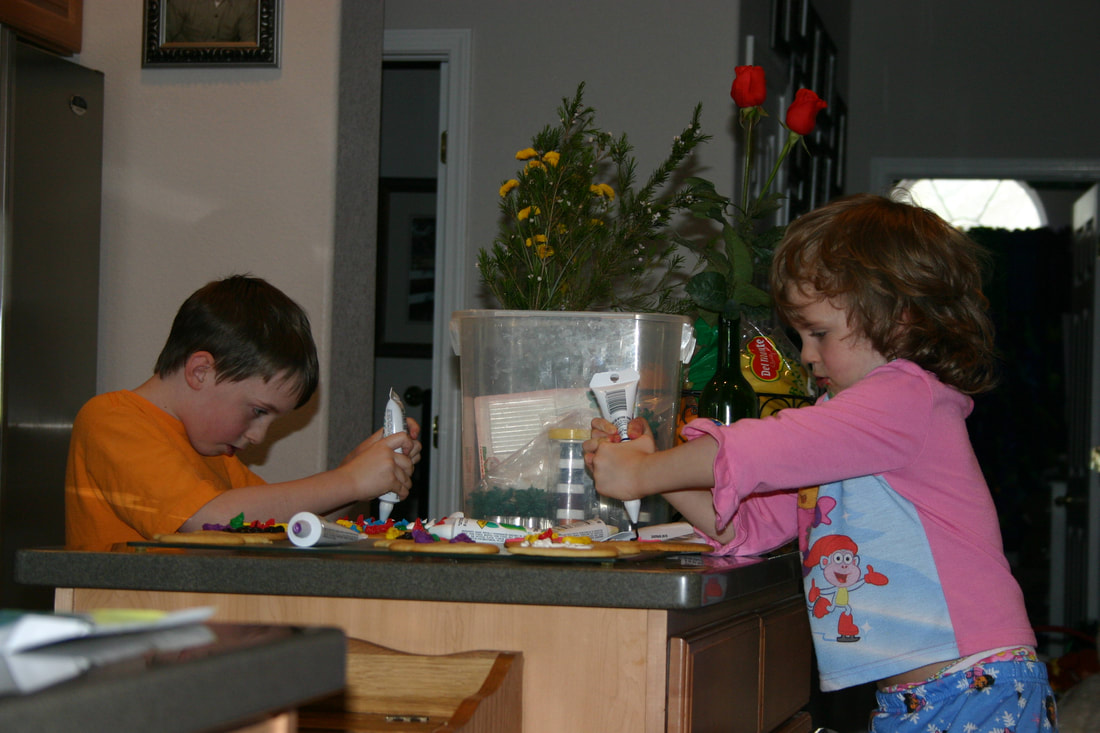
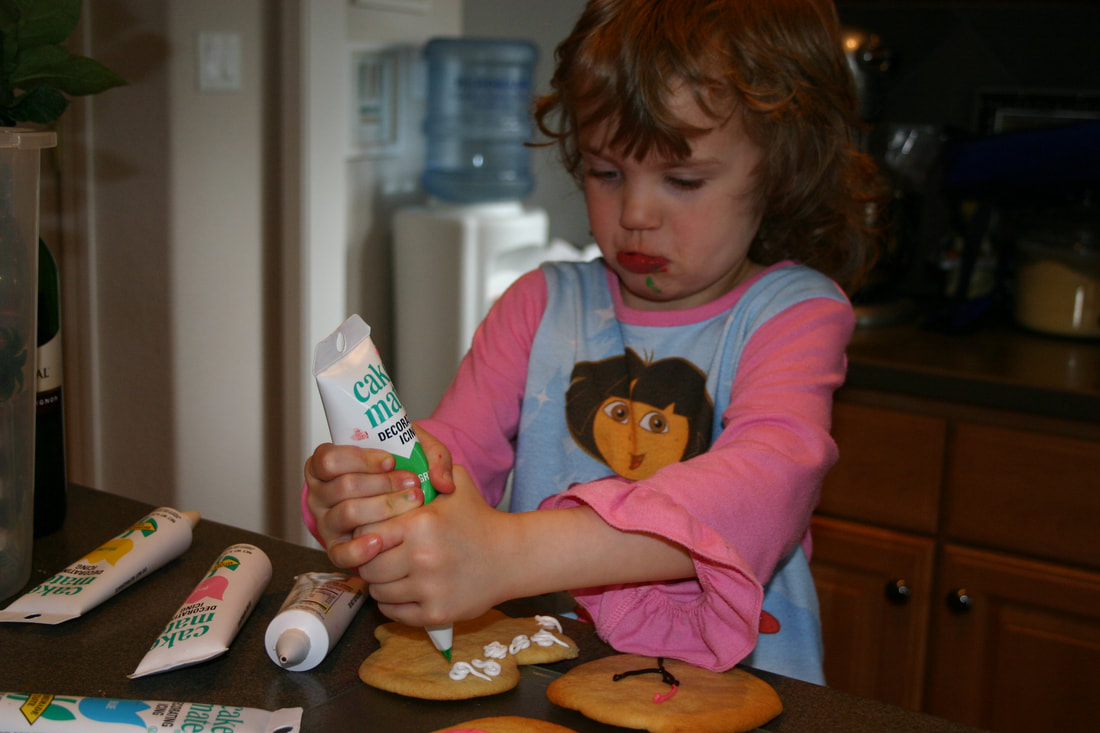
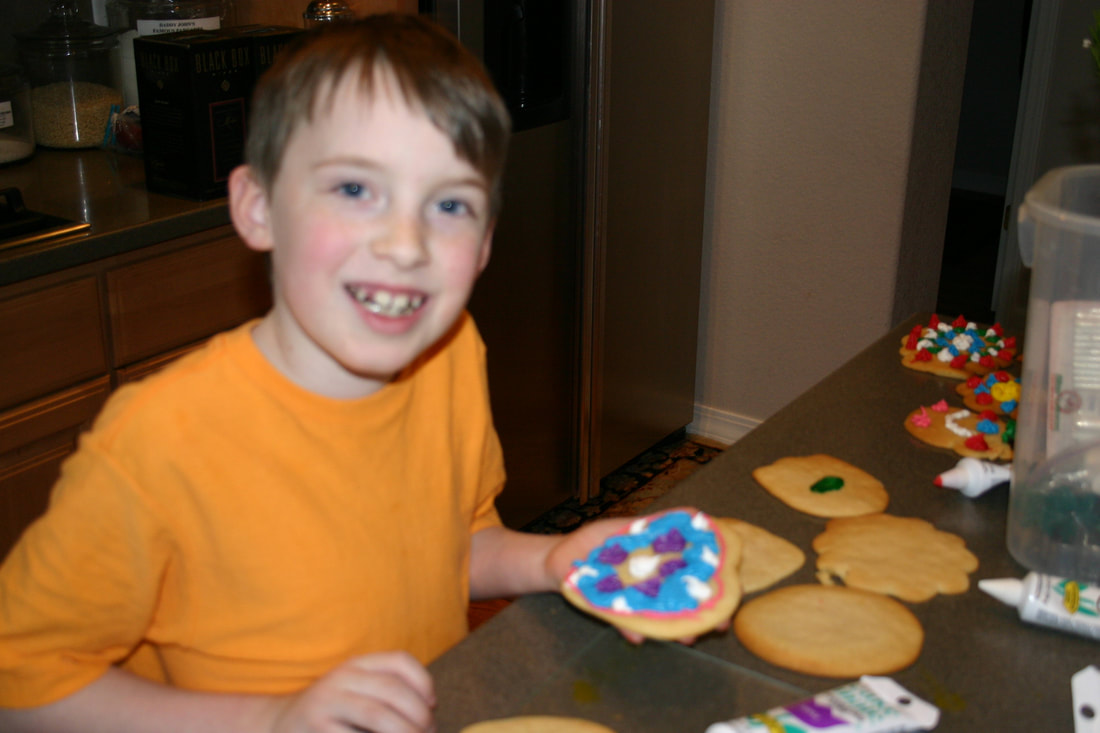
Cooking w/ Baby Bears

Picture
Picture
Picture
Picture
Picture
Picture
Picture
Picture
Picture
The love of a family, is one of life's greatest blessings.